Understanding Back Bar Repair Basics
Repairing back bars can be a rewarding DIY project that not only restores the integrity of your furniture but also enhances the aesthetic appeal of your home or business. Whether you’re dealing with a damaged bar back in your kitchen, a cracked frame in your home bar, or a commercial setup that needs a little TLC, understanding the basics of back bar repair is essential for any enthusiast. This guide delves into various facets of back bar repair, from identifying common issues to executing effective repair techniques.
What is Back Bar Repair?
Back bar repair encompasses several processes aimed at restoring the structural and visual components of a bar setup. This includes fixing the back bar’s structural integrity, which is often the first area to suffer damage due to wear and tear. The back bar typically houses shelves for glassware, liquor, and additional decorative elements. Over time, exposure to humidity, spills, and weight can lead to warping, cracking, or other forms of deterioration.
Common Issues Faced in Back Bar Damage
- Water Damage: This is particularly prevalent in areas with high humidity or accidental spills, which can lead to mold, warping, or discoloration.
- Structural Weakness: Regular use can cause joints to loosen or structural components to deteriorate.
- Upholstery Wear: If your bar features upholstered elements, fabric tears or cushion flattening can occur over time.
- Finish Deterioration: The finish on wood surfaces can wear down, resulting in a lackluster appearance.
Materials Needed for Repairs
To effectively perform a back bar repair, certain tools and materials are commonly required. These may include:
- Wood glue or epoxy
- Sandpaper (various grits)
- Paint or wood stain
- A staple gun for upholstery
- Replacement foam for padding
- A pry bar or hammer for disassembly
- Clamps to hold pieces together while drying
Assessing Damage: How to Identify Repair Needs
Before any repair work can commence, it is vital to conduct a thorough assessment of the damage. This not only helps you prioritize repairs but also ensures that you have all necessary tools and materials at hand.
Visual Inspection Techniques
Start by performing a comprehensive visual inspection of the back bar. Look for cracks, chips, or warping in wood surfaces. Check joints for signs of looseness or detachment. Inspect shelves for sagging, and assess any upholstered areas for wear or tears.
Understanding Structural Integrity
Determining the structural integrity is crucial, especially if the back bar is a commercial unit subject to heavy use. Check if the connections between different parts, such as the legs to the bar top, are still secure. Tap gently on various sections to see if any produce a hollow sound, which can indicate hidden damage or cavities.
Safety Considerations Before Repairs
Safety should always be a priority. Before beginning repairs, ensure you wear protective gear, such as gloves and eye protection, especially when sanding or working with strong adhesives. Also, confirm that the work area is free of obstacles that could lead to accidents.
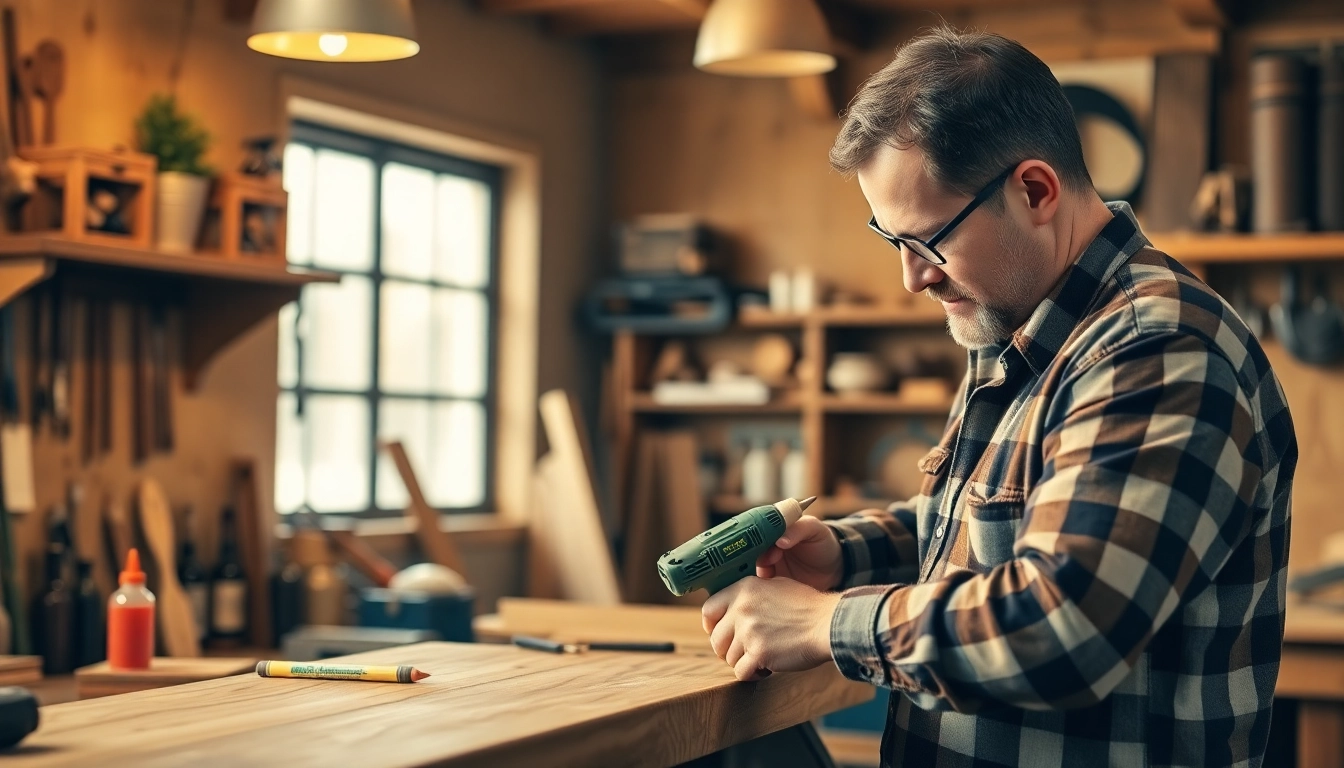
Step-by-Step Guide to Back Bar Repair
With a solid understanding of the damage and preparation for safety, you can now undertake repairs. This section outlines a detailed step-by-step guide to successfully rehabilitate a back bar.
Preparing the Work Area and Tools
Clear the area where you will work. Organize your tools and materials so that they are easily accessible. If possible, move the back bar to a location with good ventilation, especially if using adhesives, paints, or stains that emit strong odors.
Repairing Minor and Major Damages
Minor damages such as scratches or small cracks can often be filled with wood filler or epoxy. For deeper cracks or structural damage:
- Remove any damaged parts: Disassemble sections gently, using a pry bar if necessary. Be cautious not to damage surrounding areas.
- Glue and clamp pieces back together: Apply a suitable adhesive and hold the pieces in place with clamps until cured.
- Sanding: Once the glue is dry, sand down the area to ensure it is smooth and even with surrounding surfaces.
Finishing Touches: Sanding and Painting
After all repairs have been executed, it’s time for finishing touches. Use progressively finer sandpaper to polish the surface, then apply a suitable stain or paint to restore the appearance of the bar. Apply a sealant afterward for extra protection against future spills and damage.
Maintenance Tips After Back Bar Repair
Once repairs are complete, consider implementing regular maintenance practices to extend the life of the back bar and keep it looking good. Here are several helpful tips:
Best Practices for Longevity
Ensure that you clean spills immediately to avoid water damage. Regularly dust the bar surfaces, and apply furniture polish to maintain the finish. If your bar has upholstered elements, vacuum them regularly and treat stains as soon as they occur.
Regular Inspection Tips
Make a habit of inspecting your back bar every few months. Look for any signs of new damage and address them promptly to prevent worsening conditions.
When to Call a Professional
If you encounter substantial structural issues, such as extensive rot or instability that could compromise safety, it’s advisable to consult a professional. Additionally, when tackling complex upholstery work beyond your expertise, enlisting the help of a pro will yield the best results.
Case Studies: Successful Back Bar Repair Examples
Understanding the application of repair techniques can be enhanced by examining case studies. Below are examples drawn from both residential and commercial experiences.
Residential vs. Commercial Repairs
Residential projects often involve personalized touches, such as restoring a family heirloom bar. In one case, a homeowner repaired a vintage wooden bar that had seen better days by addressing both structural issues with epoxy and enhancing its appearance with an elegant dark stain. Conversely, commercial repairs usually focus on durability and functionality. For instance, a bar in a restaurant setting was refurbished by reinforcing shelving to hold heavier spirits without sagging.
Before and After: Transformational Stories
Transformational before-and-after stories illustrate the impact of effective repairs. A bar once riddled with scratches and stains was revitalized through diligent sanding and refinishing, showcasing the wood’s natural grain beautifully. This transformation not only enhanced aesthetic appeal but also increased customer satisfaction.
Lessons Learned from Failed Repairs
Some repairs might not turn out as planned, often due to improper techniques or neglect in maintenance. One case involved failing to securely clamp joints during a reassembly, leading to structural failure shortly after the restoration. This emphasizes the importance of proper procedure and thoroughness in repairs.