Understanding the Importance of a Gimbal for iPhone
What is a Gimbal and How Does It Enhance Filming?
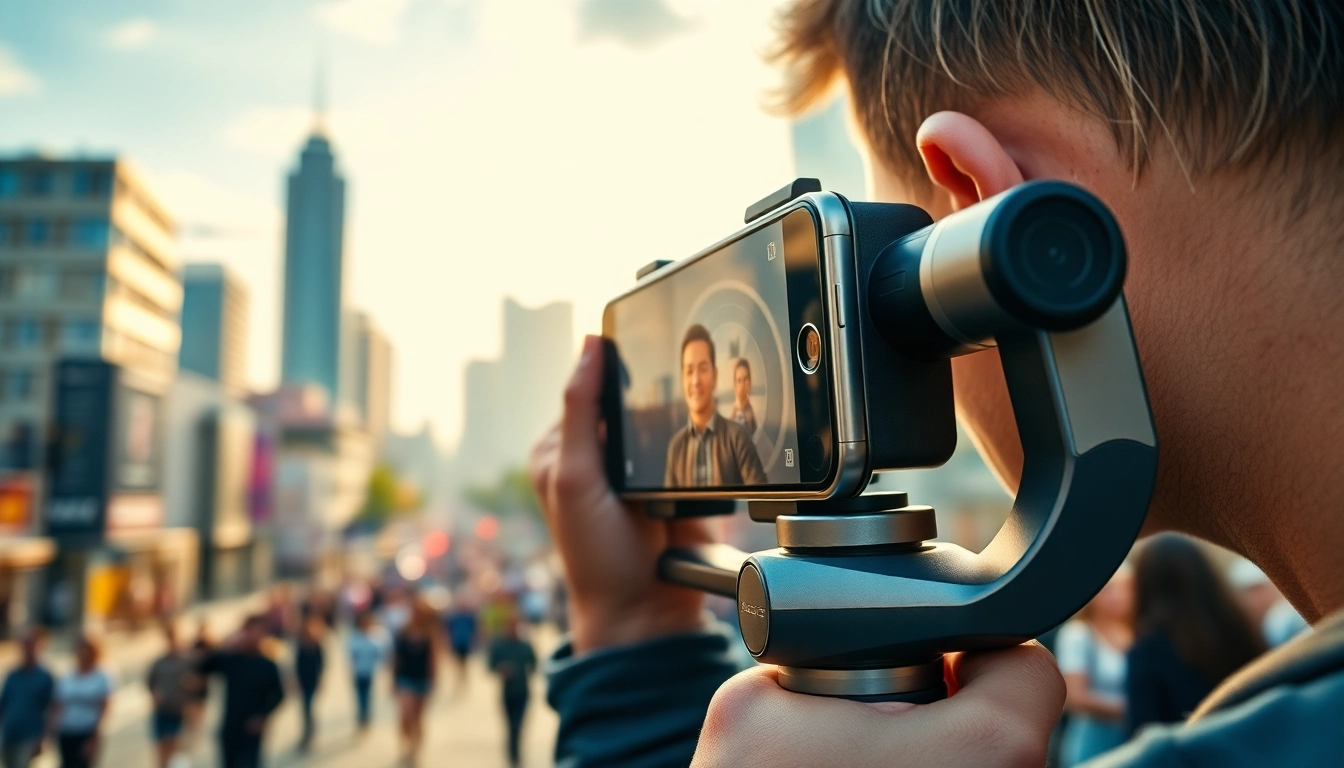
In the ever-evolving world of mobile photography and videography, the quest for stable and smooth footage remains a top priority for content creators. Here, a gimbal for iPhone becomes an essential tool. A gimbal, essentially, is a pivoted support that allows the rotation of an object about a single axis. By leveraging advanced technology, these devices stabilize your iPhone making it easy to capture high-quality videos and photos while on the move.
Utilizing motors and sensors, the gimbal can detect movement and adjust accordingly, effectively counteracting any shaking or unintended movements. As you walk, run, or navigate through busy environments, the gimbal ensures that your footage remains steady, enabling creators to achieve a cinematic look without the need for bulky equipment.
Key Features to Look for in a Gimbal for iPhone
When exploring options for a gimbal for iPhone, there are several key features worth considering:
- Stabilization Technology: Look for the type of stabilization used; 3-axis stabilization is favored for its ability to correct pitch, yaw, and roll movements.
- Battery Life: A prolonged battery life allows for longer shooting sessions without interruptions, an essential factor for anyone filming on-the-go.
- Weight and Portability: The lighter the gimbal, the easier it is to carry for extended periods.
- Smartphone Compatibility: Ensure it can accommodate various iPhone models and designs.
- Built-in Features: Features such as time-lapse, object tracking, and different shooting modes can enhance your creative possibilities.
Common Misconceptions About Gimbals
Despite their rising popularity, several misconceptions surround gimbals that may deter potential users:
- Gimbals are only for professionals: While they are commonly used in professional settings, gimbals are user-friendly enough for beginners, making them accessible for anyone looking to improve their filming quality.
- Gimbals are too expensive: While some options can be pricey, there are budget-friendly choices available that still deliver excellent results.
- Gimbals are complicated to use: With practice and proper tutorials, most users find gimbals intuitive and easy to operate.
Choosing the Right Gimbal for iPhone
Assessing Your Filming Needs and Style
Understanding your specific filming needs is crucial in selecting the right gimbal for iPhone. Consider the type of content you plan to create. Are you focusing on vlogging, cinematic storytelling, or perhaps action-packed adventure footage? Each style may benefit from different gimbal features. For instance, if you often film fast-paced activities, prioritizing a gimbal with rapid stabilization response would be advantageous.
Differentiating Between Types of Gimbals
There are various types of gimbals designed for specific uses:
- Handheld Gimbals: Perfect for casual shooting and vlogging, these are the most common type.
- Wearable Gimbals: Ideal for extreme sports, they can be attached to your body or equipment for action shots.
- Camera-Mounted Gimbals: These are used for studio shoots or with larger cameras and may require more setup.
Budget Considerations: Finding Value in a Gimbal for iPhone
Your budget will significantly influence your choice. While investing in quality equipment is advisable, it’s unnecessary to overspend. Researching user reviews, comparing features, and seeking models within your budget will help you find the best value. Consider the longevity and support options of the gimbal as well, as these factors can enhance your investment.
Essential Tips for Using a Gimbal for iPhone
Setting Up Your Gimbal: A Step-by-Step Process
Setting up your gimbal correctly is essential for optimal performance. Follow these steps:
- Balancing: Properly balance the iPhone in the gimbal’s clamp. This step ensures that the motors work efficiently.
- Power On: Once balanced, turn on the gimbal and allow it to calibrate.
- Select a Mode: Choose the mode that aligns best with the type of footage you wish to capture.
- Practice Movements: Familiarize yourself with the gimbal’s controls by practicing basic movements before starting filming.
Best Practices for Filming with a Gimbal
To maximize the potential of your gimbal, here are some best practices to follow:
- Use Smooth Movements: Practice moving the gimbal fluidly. Jerky or abrupt movements can lead to unstable footage.
- Avoid Quick Turns: Slow down your turns to allow the gimbal to adjust and maintain balance.
- Utilize Different Angles: Experiment with low shots, high shots, and tracking shots to create dynamic footage.
Common Mistakes to Avoid When Using a Gimbal for iPhone
Even experienced users may fall into certain traps. Here are some common mistakes to avoid:
- Neglecting Balance: Always ensure the gimbal is properly balanced before turning it on.
- Inadequate Power Management: Keep an eye on battery levels; you don’t want to run out in the middle of shooting.
- Ignoring Gimbal Settings: Spend time understanding the settings to get the most out of your device.
Advanced Techniques with a Gimbal for iPhone
Incorporating Dynamic Shots in Your Videos
Dynamic shots can elevate your content significantly. Consider techniques such as:
- Tracking Shots: Following a moving subject smoothly will keep your audience engaged.
- Crane Shots: Create vertical movement to add drama to your sequences.
- Reveal Shots: Start with a static shot and slowly pan to reveal the subject, creating intrigue.
Leveraging Gimbal Features for Creative Storytelling
Many gimbals come equipped with special features like object tracking or time-lapse settings. Utilize these features to enhance your storytelling:
- Object Tracking: Focus on a subject while the background changes; this technique is excellent for storytelling in action.
- Time-Lapse: Capture hours of movement in seconds. This feature is perfect for showing transitions in environments or activities.
Editing Footage Captured with a Gimbal for Enhanced Impact
Post-production plays a significant role in how effective your footage is. When editing, consider these tips:
- Trim Excess Footage: Keep only the best takes to maintain viewer interest.
- Add Music and Effects: Choose an appropriate soundtrack that complements the mood of your footage.
- Color Grading: Adjust the colors to match the desired aesthetic, making your footage pop.
Maintaining and Caring for Your Gimbal for iPhone
Cleaning and Storing Your Gimbal Properly
To extend the life of your gimbal, it’s crucial to maintain and store it properly. Both cleaning after shoots and proper storage can prevent damage:
- Regular Cleaning: Use a soft cloth to clean the gimbal, avoiding any harsh chemicals that could damage it.
- Proper Storage: Store your gimbal in a protective case to keep it safe from dust and physical damage.
Understanding Warranty and Repair Options
Before purchasing, familiarize yourself with the warranty and repair policies. Knowing what’s covered can provide peace of mind and help you make an informed decision. Look for gimbals that offer adequate warranty periods and reliable customer support.
Upgrading Your Gimbal: When and Why
As technology advances, the capabilities of gimbals improve remarkably. Here are some indicators it’s time to consider an upgrade:
- Increased Production Needs: If your content demands greater stability or special features that your current model lacks.
- Wear and Tear: If your gimbal no longer performs well or shows significant wear, an upgrade may be necessary.
- Improved Technology: Advancements in gimbal technology can provide smoother stabilization, better tracking, and intuitive controls.